How To's, Guides, Website OptimizationWhat makes an Effective Website? Five Simple Tips for Creating Content We Are Emerge / March 15, 2023
Our Blog, Facebook Advertising, How To's, Search Engine Marketing, Search Engine OptimizationHow To Set Up Facebook Ads Custom Conversions Carissa Noromor / August 24, 2021
Our Blog, Google My Business, Guides, How To'sPart 1: Google My Business Guide for Business Owners in the Philippines: Set up and Confirm Listing 2021 Carissa Noromor / July 28, 2021
Our Blog, How To'sFacebook Analytics Will Shut Down On June 30 – Here Are Other Ways to Explore Data Carissa Noromor / June 7, 2021
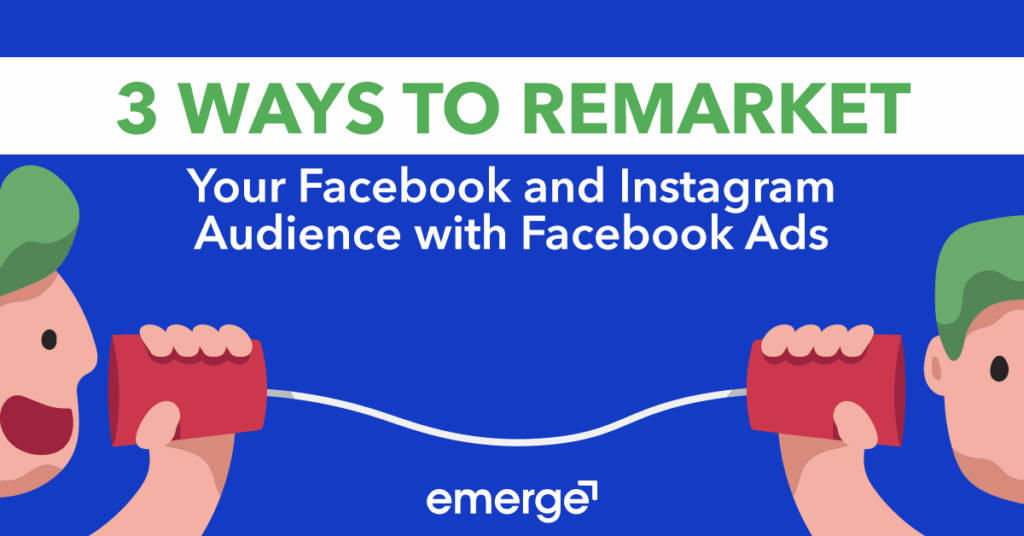
Our Blog, Facebook Advertising, How To's3 Ways to Remarket Your Facebook and Instagram Audience with Facebook Ads Carissa Noromor / April 14, 2021
Our Blog, Digital Marketing, Google AdWords, How To'sAre you Wondering why Conversion Tracking is Important? Carissa Noromor / January 24, 2019
Our Blog, How To's, Social MediaHow Smart Digital Marketers Use Facebook Messenger for outstanding Customer Service Carissa Noromor / July 31, 2017
Our Blog, Facebook Advertising, How To's, Social MediaHow To Increase Facebook Page Likes And Engagements Using Video For FB Ads Carissa Noromor / July 31, 2017
Our Blog, Facebook Advertising, How To's, Social MediaHow To Keep Your Facebook Fans Engaged Carissa Noromor / July 31, 2017